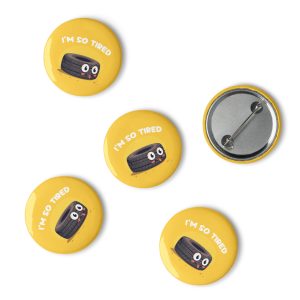
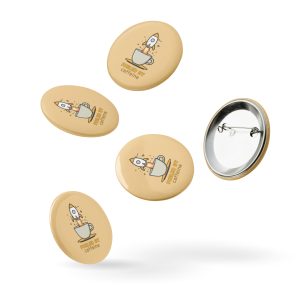
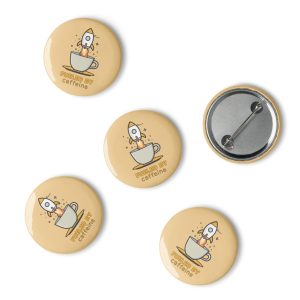
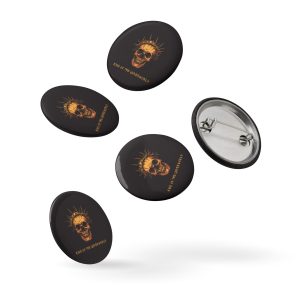
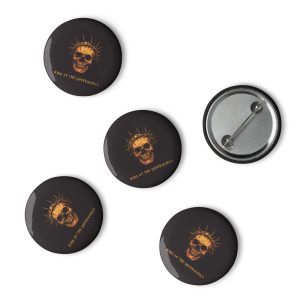
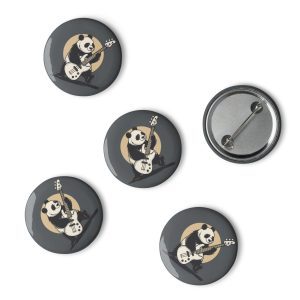
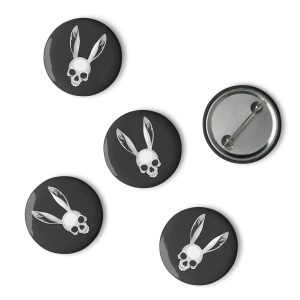
Hey there, craft enthusiasts! Ever looked at a button pin and thought, “I could totally make that!”? Well, guess what? You absolutely can! Button pins are a fun and easy way to express your creativity, make personalized gifts, or even start a small business. Whether you’re a seasoned DIYer or a beginner just dipping your toes into the world of crafting, this step-by-step guide will teach you how to make button pins that are sure to impress.
So, what are you waiting for? Grab your supplies and let’s get started on this exciting journey of button pin creation!
The Allure of Button Pins
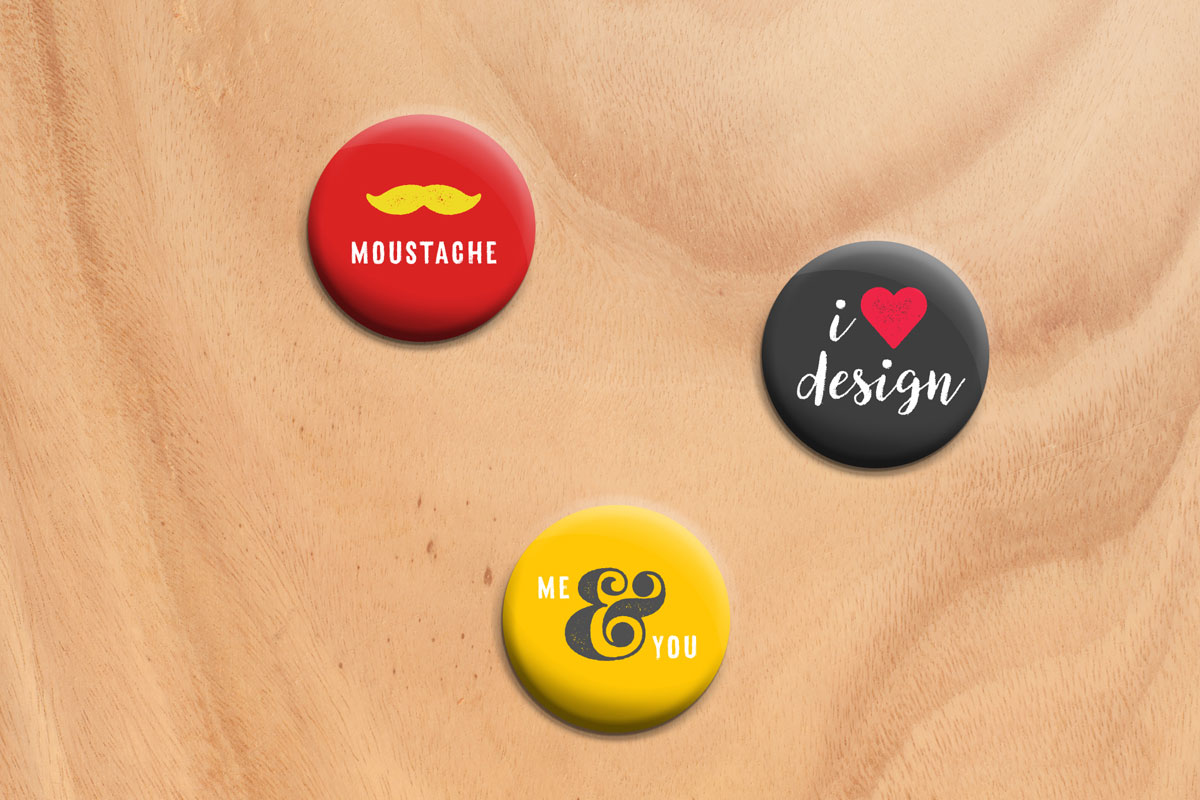
Button pins, also known as pin-back buttons or badges, have been around for over a century. They started as a way to show political affiliation or support for a cause but quickly evolved into a popular accessory for expressing personal style, interests, and affiliations. Today, button pins are worn by people of all ages and backgrounds, and they can be found adorning backpacks, jackets, hats, and more.
Why are button pins so appealing? Well, for starters, they’re incredibly versatile. You can make button pins featuring your favorite artwork, quotes, band logos, or even inside jokes. They make unique and personalized gifts for friends and family, and they can also be used as promotional items for businesses or fundraisers. Plus, they’re a fun and easy way to express yourself and show off your creativity.
There are two main methods for making button pins:
- Using a Button Maker Machine: This is the most efficient way to create professional-looking button pins in large quantities. Button maker machines come in various sizes and levels of complexity, but they all work on the same basic principle: using pressure to crimp the different parts of the button pin together.
- DIY Methods (No Machine): If you don’t have access to a button maker machine, don’t worry! There are several DIY methods you can use to create button pins at home. These methods are more time-consuming and might not produce the same polished look as a machine-made button, but they’re a great option for beginners or those on a budget.
Gathering Your Button Pin Making Supplies
Before you start creating your button pin masterpieces, you’ll need to gather a few essential supplies. The exact materials you’ll need will depend on whether you’re using a button maker machine or opting for a DIY method.
Button Maker Machine and Supplies:
A button maker machine streamlines the process, ensuring consistent results and a professional finish. If you plan on making button pins regularly or in large quantities, investing in a machine is definitely worth it.
- Button Maker Machine: There are various types of button makers available, ranging from manual hand-held presses to electric machines. For beginners, a simple manual machine is a great starting point. It’s affordable, easy to use, and can still produce high-quality button pins. Some popular brands include Badge-A-Minit and Tecre.
- Button Parts: These typically come in sets and include the metal shell, the graphic insert, the clear plastic mylar cover, and the pin back. Ensure you choose the correct size for your button maker machine.
- Circle Cutter: This tool is used to cut out your designs to the perfect size for your button pins. Most button maker machines come with a circle cutter, but you can also purchase them separately.
- Design Template: A design template helps you create perfectly sized designs for your button pins. You can find free templates online or create your own using design software.
DIY Supplies (No Machine):
If you’re feeling crafty and don’t want to invest in a button maker machine, you can still make button pins using readily available materials at home.
- Button Parts: You can purchase button parts online or at craft stores. Look for sets that include the metal shell, graphic insert, and pin back.
- Safety Pins: Regular safety pins can be used as a substitute for the pin backs that come with button parts.
- Strong Adhesive: You’ll need a strong adhesive, like E6000 or super glue, to attach the pin backs to your designs.
- Cardboard or Chipboard: You’ll need a sturdy backing material for your designs. Cardboard or chipboard works well.
- Scissors and Pencil: These are essential for cutting out your designs and tracing templates.
Design Elements:
Now for the fun part – designing your button pins! The possibilities are endless, but here are a few tips to keep in mind:
- Types of Designs: You can use any type of design for your button pins, including images, text, logos, or a combination of all three. Just make sure your design is high-resolution and clear so it looks crisp and vibrant on the finished pin.
- Eye-Catching Designs: Use contrasting colors, bold fonts, and simple layouts to make your designs stand out. You can also incorporate humor, puns, or pop culture references to add personality and appeal.
- Resources for Design Templates: If you’re not a design whiz, don’t worry! There are plenty of free design templates available online that you can use as a starting point. You can also use graphic design software like Canva or Adobe Photoshop to create your own custom designs.
Step-by-Step Instructions for Making Button Pins with a Machine
Now that you have all your supplies ready, let’s dive into the step-by-step process of how to make button pins with a machine:
- Prepare Your Design: Use your circle cutter to cut out your design to the correct size for your button maker machine. Make sure the design is centered and free of any smudges or fingerprints.
- Assemble the Button: Place the metal shell of the button pin into the bottom die of the button maker machine. Place your design face-up on top of the shell, followed by the clear plastic mylar cover.
- Crimp the Button: Place the top die of the machine over the mylar cover and press down firmly on the lever. This will crimp the button parts together, creating a secure seal.
- Attach the Pin Back: Remove the button from the machine and turn it over. Place the pin back onto the back of the button and use the machine to crimp it in place.
Congratulations! You’ve just made your first button pin!
DIY Button Pin Methods: Getting Crafty Without a Machine
Don’t have a button maker machine? No problem! You can still create unique and personalized button pins using these DIY methods:
Shrink Plastic Method:
- Print or Draw Your Design: Print your design onto shrink plastic or draw it directly onto the plastic using permanent markers.
- Cut Out Your Design: Use scissors to carefully cut out your design, leaving a small border around the edges.
- Preheat Your Oven: Preheat your oven to the temperature specified on the shrink plastic packaging (usually around 325°F or 165°C).
- Shrink Your Design: Place your design on a baking sheet lined with parchment paper and bake it in the oven for a few minutes. Watch it closely, as it will start to curl and shrink. Once it lies flat again, it’s done.
- Attach a Pin Back: Once the design has cooled, attach a safety pin to the back using strong glue.
Cardboard and Glue Method:
Trace and Cut: Trace your design onto a piece of cardboard or chipboard and cut it out.
Glue and Assemble: Glue the design to the metal shell of a button pin, then attach a safety pin to the back using strong glue.
Seal and Protect: To protect the design, you can cover it with clear nail polish or resin.
Other DIY Methods:
There are many other creative ways to make button pins without a machine. You can use bottle caps, fabric scraps, polymer clay, or even recycled materials. Get creative and experiment with different materials and techniques!
Designing Your Button Pins: Unleashing Your Creativity
The design of your button pin is what will make it truly unique and eye-catching. Here are some tips for creating designs that stand out:
Tips for Eye-Catching Designs:
- High-Resolution Images: If you’re using images in your design, make sure they are high-resolution (300 dpi or higher) so they print clearly and don’t appear pixelated.
- Clear Text: Choose fonts that are easy to read, even at a small size. Avoid using too much text, as it can become cluttered and difficult to decipher.
- Contrasting Colors: Use contrasting colors to make your design pop and ensure that the text is legible. Consider using a light background with dark text, or vice versa.
- Simple Layouts: Keep your design simple and uncluttered. A clear focal point and a few supporting elements will create a visually appealing and effective design.
- Humor and Puns: If appropriate for your audience, incorporate humor, puns, or pop culture references into your designs. A funny or witty button pin can be a great conversation starter.
Sources of Inspiration for Your Button Pins:
- Your Own Artwork: If you’re an artist or illustrator, create original designs that showcase your talent and style.
- Favorite Quotes: Choose quotes from books, movies, or songs that resonate with you and reflect your personality.
- Band Logos: Show your love for your favorite bands or musicians by creating button pins with their logos.
- Pop Culture References: Incorporate elements from pop culture, such as memes, TV shows, or movie characters, to create fun and quirky designs.
- Social Causes and Activism: Use your button pins to raise awareness for causes you care about or to show your support for social justice movements.
Design Software and Tools:
You don’t need to be a professional graphic designer to create amazing button pin designs. Many user-friendly tools are available to help you bring your ideas to life.
- Canva: This free online design platform offers a wide range of templates, fonts, and graphics that you can use to create your own custom button pin designs.
- PicMonkey: Another free online design tool, PicMonkey offers a simple interface and a variety of editing tools to help you create eye-catching designs.
- Adobe Photoshop or Illustrator: If you’re a more experienced designer, you can use professional software like Adobe Photoshop or Illustrator to create more complex and detailed designs.
- Online Button Pin Design Tools: Several online platforms specialize in creating custom button pin designs. These platforms often offer templates and easy-to-use design tools, making it simple to create your own unique pins.
Creative Ideas for Button Pin Projects:
The possibilities for button pin projects are endless! Here are a few ideas to get your creative juices flowing:
- Personalized Gifts: Create button pins with inside jokes, nicknames, or special memories for your friends and family. They’ll appreciate the thoughtfulness and uniqueness of your gift.
- Event Favors or Souvenirs: Button pins make great party favors or souvenirs for weddings, birthdays, anniversaries, or other special events. You can customize them with the event date, location, or a special message.
- Promotional Items: If you own a small business or are promoting an event, custom button pins are an affordable and effective way to get your brand or message out there.
- Fundraising: Design button pins that support a cause or charity. You can sell them to raise funds or give them away as incentives for donations.
- Collections: Start your own collection of button pins! Collect pins from your travels, favorite bands, or events you’ve attended. It’s a fun and unique way to document your experiences and showcase your interests.
- Beyond the Basics: Advanced Button Pin Techniques for the Ambitious Crafter
Ready to take your button pin game to the next level?
Here are some advanced techniques to try:
- Creating Multi-Layer Designs: You can create button pins with multiple layers of design elements for a more dimensional and interesting look. This involves cutting out different shapes and layering them on top of each other before inserting them into the button maker machine.
- Adding Glitter or Epoxy: To give your button pins a professional and eye-catching finish, consider adding glitter or epoxy resin. Glitter can be sprinkled onto the wet glue before attaching the pin back, while epoxy resin can be applied over the entire design to create a smooth and glossy finish.
- Using Different Button Sizes: Button makers come in a variety of sizes, so you can create button pins in different diameters. Experiment with different sizes to see what works best for your designs. Smaller button pins are great for subtle accents, while larger ones can make a bolder statement.
Troubleshooting and Tips for Success: Your Button Pin Guru
Even with the best instructions, things don’t always go smoothly. Here are some common issues you might encounter when making button pins and how to fix them:
Misaligned Images: If your design isn’t centered or is cut off, try adjusting the position of the paper circle before crimping. You can also use a template to ensure proper alignment.
Air Bubbles: Air bubbles can form under the mylar cover, creating an uneven surface. To avoid this, press down firmly on the top die of the machine when crimping.
Uneven Crimping: If the edges of your button pin aren’t crimped evenly, try adjusting the pressure of the button maker machine or repositioning the button parts before crimping.
Caring for Your Button Pins: To keep your button pins looking their best, avoid exposing them to excessive moisture or direct sunlight. Store them in a cool, dry place, and avoid scratching or rubbing the surface.
Conclusion: The Joy of Button Pin Creation
Whether you’re a seasoned crafter or a curious beginner, making button pins is a fun and rewarding activity. It’s a way to unleash your creativity, express your personality, and create unique and personalized items that you can share with others.
So, what are you waiting for? Grab your supplies, follow our step-by-step guide, and start creating your own button pin masterpieces. The possibilities are endless!


