The sound of shattering ceramic is a universal language of heartbreak. Whether it’s a beloved mug gifted by a dear friend, a cherished family heirloom, or simply the vessel for countless comforting cups of tea, a broken mug feels like a loss. But before you resign your beloved cup to the trash bin, consider this: “How to fix a broken ceramic mug” is a question with surprisingly simple answers.
This comprehensive guide will empower you to mend your broken ceramic mug and give it a new lease on life.
How to Fix a Broken Ceramic Mug: The Case for Repair
Before we delve into the nitty-gritty of mug repair, let’s explore why fixing your broken ceramic companion is a far better option than simply tossing it in the bin and buying a new one:
Sentimental Value: Mugs are more than just drinking vessels. They hold memories, emotions, and connections to special people or moments. Repairing a broken mug is like mending a piece of your heart.
Environmental Responsibility: Every repaired mug is one less piece of waste in our landfills. By choosing to repair, you contribute to a more sustainable future.
Financial Savings: Let’s face it, quality mugs can be expensive. Repairing a broken one is a pocket-friendly alternative to purchasing a new one.
Personal Satisfaction: There’s a unique sense of accomplishment and pride in fixing something yourself. It’s a testament to your resourcefulness and creativity.
A Word of Caution:
While we’re enthusiastic about mug repair, it’s important to be realistic. Not every broken mug can be fully restored to its original state. Some repairs, especially those near the rim, may compromise the mug’s food safety. Always prioritize safety and consider using repaired mugs for non-food purposes like holding pens or small plants.
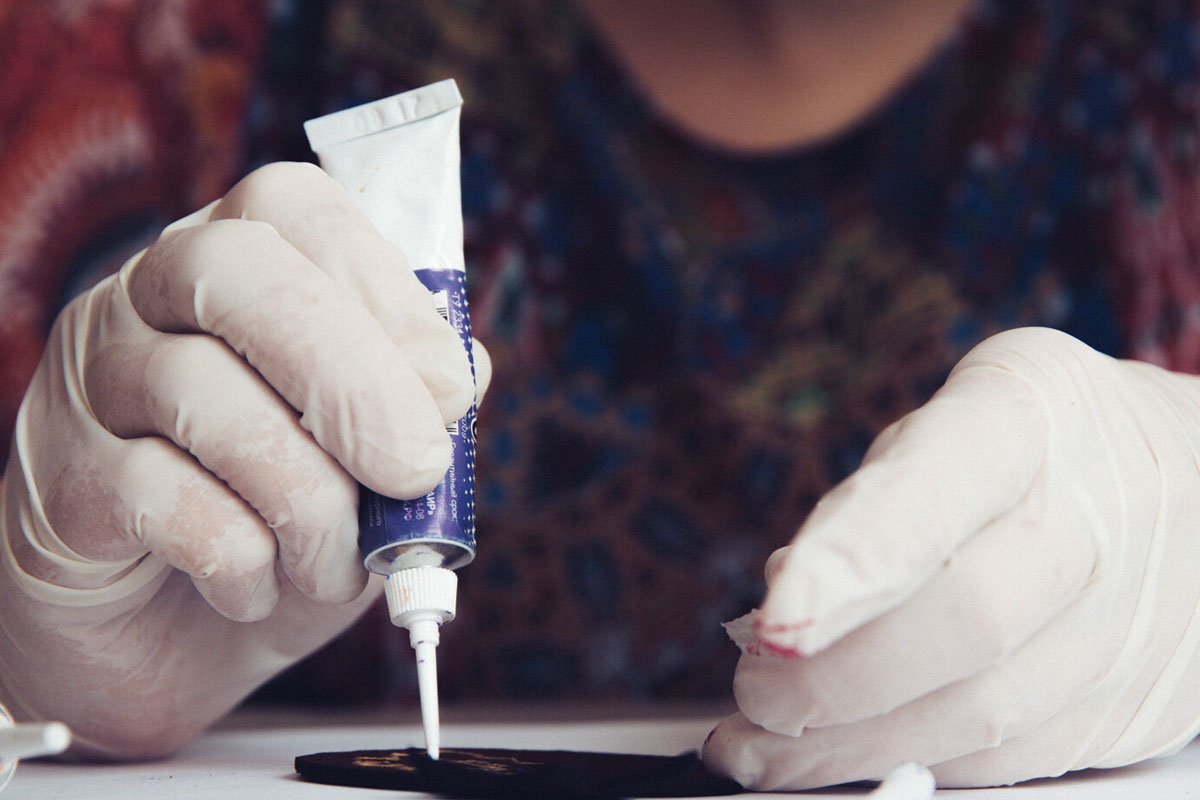
Method 1: Super Glue (Cyanoacrylate)
The Quick Fix
Best for: Clean breaks, chips, hairline cracks
Pros:
Readily available at most stores
Easy to use
Dries quickly
Inexpensive
Cons:
Not food-safe
Not suitable for large or complex breaks
Step-by-Step Guide:
- Preparation is Key: Before you start, ensure the broken pieces are clean and dry. Any dirt or residue will interfere with the glue’s bonding ability.
- A Little Goes a Long Way: Apply a thin, even layer of super glue to one edge of the break. A toothpick or cotton swab can help with precision.
- Press and Hold: Gently but firmly press the broken edges together for 30-60 seconds. Maintain even pressure to ensure a strong bond.
- Allow to Cure: Let the mug sit undisturbed for at least 24 hours to allow the super glue to fully cure and harden.
Important Note: Super glue is not designed for food contact. While it can effectively mend your mug, avoid using it for repairs near the rim or inside the mug.
Method 2: Epoxy
The Strong Bond
Best for: Larger breaks, handles, structural damage
 Pros:
Pros:
Incredibly strong and durable
Can fill gaps and irregularities
Some varieties are food-safe (check the label carefully)
Cons:
Takes longer to cure
More challenging to work with than super glue
Step-by-Step Guide:
- Preparation: As with super glue, clean and dry the broken edges thoroughly. For better adhesion, you can lightly sand the surfaces to be bonded.
Mix with Care: Most epoxies come in two parts: resin and hardener. Follow the manufacturer’s instructions carefully to ensure proper mixing and avoid skin contact. - Apply Evenly: Apply a generous layer of epoxy to both edges of the break, ensuring full coverage. For larger gaps, you can use epoxy putty to build up the missing area.
- Secure and Cure: Use clamps, rubber bands, or tape to hold the pieces together firmly while the epoxy cures. Curing time varies depending on the type of epoxy, but it usually takes at least 24 hours.Expert Tip: For a smoother finish, you can sand down any excess epoxy after it has fully cured. If using food-safe epoxy, make sure to wash the mug thoroughly before using it again.
Method 3: Kintsugi
The Art of Golden Repair
Best for: Adding an artistic touch to visible repairs

Pros:
Beautiful and unique aesthetic
Celebrates the mug’s history and imperfections
Turns a broken object into a work of art
Cons:
Requires specialized materials
More time-consuming
Not ideal for repairs near the rim
Step-by-Step Guide:
- Gather Your Supplies: You’ll need kintsugi repair kit, which typically includes gold powder, lacquer, and a brush.
- Prepare the Surface: Clean and dry the broken pieces. If necessary, lightly sand the edges for better adhesion.
- Apply Lacquer: Carefully apply a thin layer of lacquer to one edge of the break.
- Sprinkle Gold Powder: While the lacquer is still wet, sprinkle the gold powder over the repair area. Use a brush to gently press the powder into the lacquer.
- Repeat: Apply lacquer and gold powder to the other edge of the break and join the pieces together.
- Let it Dry: Allow the lacquer to dry completely according to the manufacturer’s instructions.
Kintsugi Philosophy: Kintsugi is not just a repair method; it’s a philosophy that embraces imperfection and finds beauty in the broken. The gold-filled cracks become a part of the mug’s story, a reminder of its resilience and transformation.
Interested in the art of golden repair? Discover the fascinating history and philosophy of Kintsugi on Wikipedia: https://en.wikipedia.org/wiki/Kintsugi
Additional Tips and Tricks:
- Masking Tape Magic: Use masking tape to hold the pieces together while the adhesive dries.
- Warm Water Soak: Before applying adhesive, soak the broken pieces in warm water for a few minutes to help them bond better.
- Practice Makes Perfect: If you’re a beginner, practice on a less valuable ceramic item before tackling your favorite mug.
Alternative Uses for Broken Mugs:
If your mug is beyond repair or you prefer not to use it for drinking, here are some creative ways to give it a second life:
- Mini Planter: Fill it with soil and plant a small succulent or herb.
- Desk Organizer: Use it to hold pens, pencils, paper clips, or other small items.
- Candle Holder: Place a tea light inside for a warm and inviting glow.
- Bird Feeder: Hang it in your garden and fill it with birdseed.
- Soap Dish: Let it drain excess water from your soap bar.
Safety First:
Always wear gloves when handling broken ceramic to protect your hands from sharp edges. When using adhesives, work in a well-ventilated area to avoid inhaling fumes.
Conclusion: A Mug Repaired is a Story Shared
Fixing a broken ceramic mug is more than just a practical solution; it’s an act of preservation, creativity, and resourcefulness. It’s a way to honor the memories and emotions attached to a cherished object and give it a new chapter in its story.
Whether you choose the quick fix of super glue, the strength of epoxy, or the artistry of kintsugi, you’ll be contributing to a more sustainable world and adding a touch of personal history to your everyday rituals.
So, the next time you hear that dreaded clatter, don’t despair. Embrace the opportunity to learn a new skill, breathe new life into a beloved object, and create a unique piece that tells a story of resilience and transformation.
FAQs about How to Fix a Broken Ceramic Mug
Q: Can I fix a ceramic mug that's broken into multiple pieces?
A: Yes, you can! However, the more pieces there are, the more challenging and time-consuming the repair will be. Super glue may not be sufficient for complex breaks, so consider using epoxy for a stronger bond.
Q: Is it safe to drink from a repaired mug?
A: It depends on the type of adhesive used and the location of the repair. Super glue is not food-safe, so avoid using it for repairs near the rim or inside the mug. Some epoxies are food-safe, but check the label carefully before using. If in doubt, it’s best to use the repaired mug for decorative or non-food purposes.
Q: Can I put a repaired mug in the dishwasher?
A: It’s generally not recommended to put repaired mugs in the dishwasher, as the high temperatures and harsh detergents can weaken the adhesive bond. Hand washing is a safer option.
Q: Can I repair a mug with a broken handle?
A: Yes! Epoxy is the best option for repairing broken handles, as it creates a strong and durable bond. Make sure to clean and roughen the surfaces before applying the epoxy for optimal adhesion.
Q: What if my mug has a hairline crack?
A: Hairline cracks can often be repaired with super glue. Apply a thin layer of glue along the crack and hold the pieces together until it dries.
Q: Can I repair a chipped mug?
A: Yes! For small chips, you can use super glue or epoxy to fill in the missing area. For larger chips, consider using epoxy putty to rebuild the shape of the mug.
Q: Will the repair be visible?
A: It depends on the repair method and the color of your mug. Super glue and epoxy may leave a slightly visible seam, especially on lighter-colored mugs. Kintsugi repairs, which use gold powder, are meant to be visible and celebrate the imperfection of the repair.
Q: What if I don't have any adhesive on hand?
A: In a pinch, you can try using clear nail polish to temporarily fix a small chip or crack. However, this is not a permanent solution and should only be used as a last resort.
Q: Where can I find kintsugi repair kits?
A: Kintsugi repair kits are available online and at some craft stores. Look for kits that include gold powder, lacquer, and a brush.
Q: Can I paint over a repaired area?
A: Yes, you can paint over a repaired area once the adhesive has fully cured. Use acrylic paint or ceramic paint that is designed to adhere to glazed surfaces.


