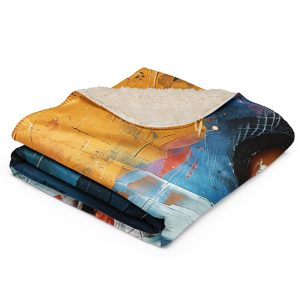
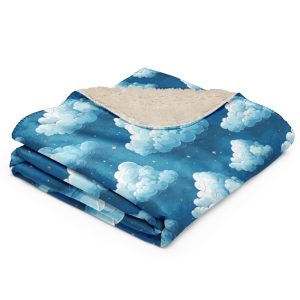
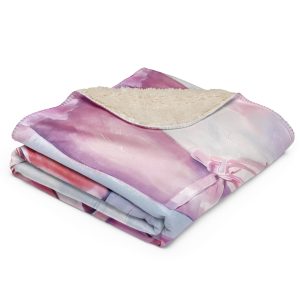
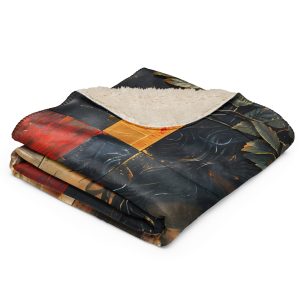
Sherpa blankets are a haven of cozy warmth, perfect for snuggling up on chilly days. But even the most beloved blankets can fall victim to snags, holes, pilling, or thinning over time. Before you toss your treasured sherpa aside, discover how to fix sherpa blankets with this comprehensive guide. Learn simple techniques and DIY solutions to restore your blanket to its former glory, saving you money and reducing waste. With easy-to-follow instructions and helpful tips, you’ll be mending your favorite sherpa blanket in no time, ready to enjoy its cozy comfort for years to come.
Why Sherpa Blankets Ar Worth Saving
Sherpa blankets offer a unique blend of softness, warmth, and durability. Their plush texture, reminiscent of sheep’s wool, provides exceptional insulation and comfort. Unlike traditional fleece, sherpa features longer fibers on one side, creating a luxuriously fluffy feel. This makes them perfect for snuggling under on the couch, using as an extra layer in bed, or simply wrapping around yourself for a cozy escape.
Given their numerous benefits, it’s well worth investing a little time and effort to repair a damaged sherpa blanket rather than replacing it. Not only will you save money, but you’ll also reduce waste and prolong the lifespan of a cherished item.
Types of Sherpa Blanket Damage
Before diving into repair techniques, let’s explore the common types of damage that sherpa blankets can experience:
- Snags: Loose threads or loops pulled out of the fabric, often caused by catching on jewelry, rough surfaces, or pet claws.
- Holes: Tears or punctures in the fabric, typically resulting from more extensive snagging, sharp objects, or burns.
- Pilling: Small balls of fuzz that form on the surface of the blanket due to friction and abrasion.
- Matting: The clumping together of sherpa fibers, leading to a flat, less fluffy appearance.
- Thinning: The gradual wearing down of the sherpa fibers in high-friction areas, causing the blanket to lose its warmth and loft.
Essential Tools and Materials
Before you begin any repair project, gather the following essential tools and materials:
- Needle and Thread: Choose a thread color that closely matches your sherpa blanket. For larger repairs, consider using upholstery thread for added strength.
- Fabric Glue: Opt for a fabric glue that dries clear and flexible, suitable for use on various fabrics.
- Scissors: Sharp fabric scissors will ensure clean cuts and prevent fraying.
- Fabric Shaver or Sweater Comb: These tools are handy for removing pilling and restoring the fluffy texture of your sherpa blanket.
- Iron-On Patches: These can be used to mend holes or reinforce thinning areas.
- Fabric Scraps: Leftover fabric from other projects can be repurposed as patches for repairing sherpa blankets.
How to Fix Sherpa Blankets: Fixing Snags and Tears
Identifying Different Types of Snags
- Loose Threads: These are the simplest to fix. Gently pull on the loose thread until it comes out completely or trims it close to the fabric.
- Pulled Loops: These are slightly more complex, as the loop has been pulled out of its weave. Use a needle to gently weave the loop back into place.
- Larger Snags: These involve multiple loops or threads pulled out of the fabric, creating a larger, more noticeable snag. These may require weaving, patching, or darning.
How to Fix a Small Snag
- Thread a needle with a matching thread and tie a knot at the end.
- Locate the base of the snag and gently insert the needle through the fabric, coming up from the underside.
- Carefully weave the needle through the loops of the snag, bringing them back into their original position.
- Once you’ve woven all the loose loops, secure the thread with a knot on the underside of the fabric.
How to Fix a Larger Snag or Tear
If the snag is too large to weave, you’ll need to patch it.
- Cut a small piece of fabric that matches the color and texture of your sherpa blanket.
- Apply a thin layer of fabric glue to the edges of the patch and the area around the snag.
- Carefully place the patch over the snag, ensuring the edges align smoothly. Press down firmly to secure it in place.
- Allow the glue to dry completely before using the blanket.
How to Fix Sherpa Blankets: Mending Holes
Assessing the Damage
The best repair method for a hole will depend on its size and location:
- Small Holes: Darning is an effective technique for mending small holes, particularly those in less visible areas.
- Larger Holes: Patching is the preferred method for repairing larger holes or those located in high-stress areas.
Patching Techniques
- Cut a patch of fabric slightly larger than the hole, ensuring it matches the color and texture of your sherpa blanket.
- Apply a thin layer of fabric glue to the edges of the patch and the area around the hole.
- Carefully place the patch over the hole, making sure the edges align smoothly.
- Press down firmly to secure it in place.
- Allow the glue to dry completely before using the blanket.
Darning for Smaller Holes
- Thread a needle with a matching thread and tie a knot at the end.
- Starting a short distance from the hole, weave the needle back and forth across the opening, creating a series of parallel stitches.
- Continue weaving until you’ve covered the entire hole, overlapping the stitches slightly to create a sturdy repair.
- Secure the thread with a knot on the underside of the fabric.
How to Fix Sherpa Blankets: Addressing Pilling and Matting
Causes of Pilling and Matting
Pilling and matting are often caused by friction and abrasion, which can occur during regular use, washing, or drying. The soft fibers of the sherpa fabric tend to rub together, causing them to tangle and form small balls of fuzz (pilling) or larger clumps (matting).
How to Remove Pilling
- Use a fabric shaver or sweater comb to gently remove the pills from the surface of the blanket.
- Work in small sections, following the direction of the fabric’s nap.
- Be careful not to press too hard, as this can damage the fibers.
Preventing and Reducing Matting
- Wash your sherpa blanket on a gentle cycle with cold water.
Use a mild detergent specifically formulated for delicate fabrics. - Avoid using fabric softener, as this can contribute to matting.
- Air-dry the blanket or tumble dry on low heat with dryer balls to prevent the fibers from clumping together.
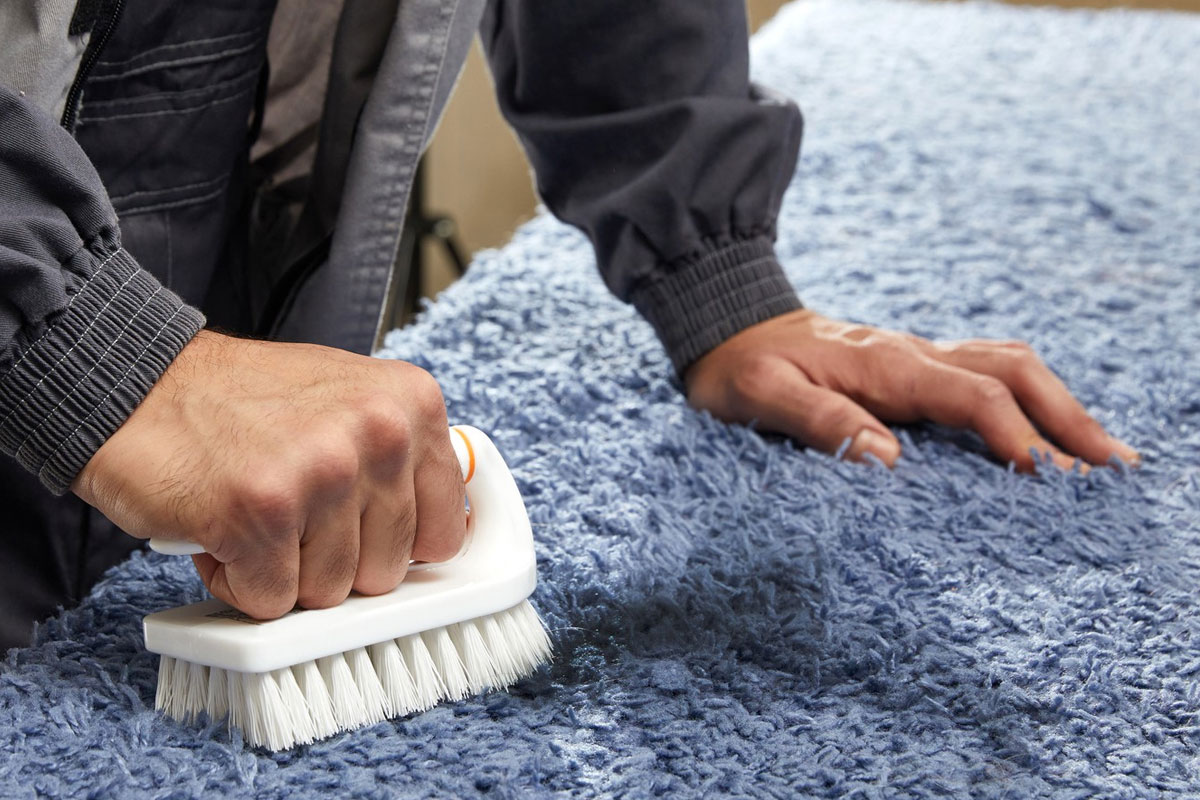
- Brush the blanket regularly with a soft-bristled brush to prevent matting and keep the fibers fluffy.
For a visual demonstration on how to fix and fluff your sherpa blanket, check out this helpful YouTube video:
DIY | How to Fix/Fluff Sherpa: https://m.youtube.com/watch?v=wc6t_RIaokU.
It’s a great way to see the repair techniques in action and get inspired to tackle your own sherpa blanket project.
How to Fix Sherpa Blankets: Restoring a Thinning Sherpa Blanket
Identifying Thinning Areas
Sherpa blankets tend to thin out in high-friction areas, such as the edges, corners, or the center where you typically sit or lie. You can identify thinning areas by feeling for spots where the fabric is less dense or the sherpa fibers are shorter.
Reinforcement Techniques
Adding a Fabric Backing: If the thinning is extensive, consider adding a layer of fabric to the back of the blanket for added support and durability.
Using Fleece Interfacing: Iron-on fleece interfacing can be applied to thinning areas to reinforce the fabric and prevent further wear and tear.
Bonus Tips and Tricks
- Sewing Tips for Beginners: If you’re new to sewing, practice basic stitches like the straight stitch, whipstitch, and backstitch before attempting more complex repairs.
- Alternative Repair Methods: Fabric glue or fusible web can be used for quick fixes or to secure patches in place. However, keep in mind that these methods may not be as durable as sewing.
- Caring for Your Sherpa Blanket: Proper care and maintenance can help prevent future damage and prolong the lifespan of your blanket. Wash it gently, avoid harsh chemicals, and store it in a cool, dry place when not in use.
Conclusion
By following the tips and techniques outlined in this guide, you can successfully repair your sherpa blanket and restore its cozy comfort. Remember, patience and attention to detail are key to achieving the best results. So, roll up your sleeves, gather your materials, and embark on your DIY sherpa blanket repair adventure. Not only will you save your beloved blanket from the landfill, but you’ll also gain valuable skills and the satisfaction of knowing you’ve given it a new lease on life.
Ready to keep your newly repaired sherpa blanket looking its best?
Head over to our blog post on “How to Wash a Sherpa Blanket” for expert tips on keeping it soft, fluffy, and free from future damage.Proper care will ensure your cozy companion stays in top condition for years to come.


